Creating and stocking products
Documents allow you to create product catalogues or pages through which you can market your products both internally and externally.
1) Creating a document with products
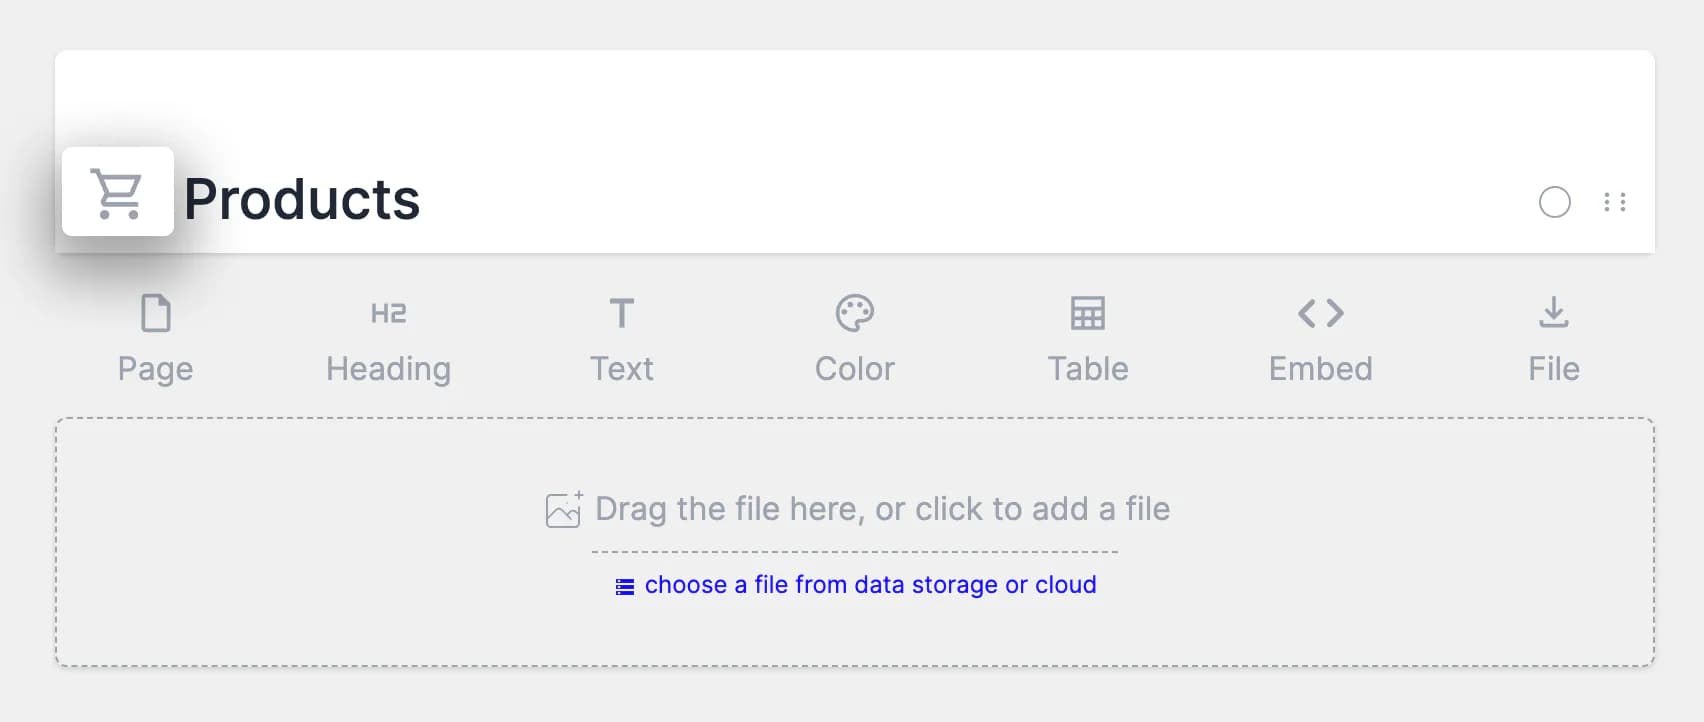
1. Create a new smartpage and name it.
2. On the left side of the name, there is a cart icon. Click it to add a product listing element to the page.
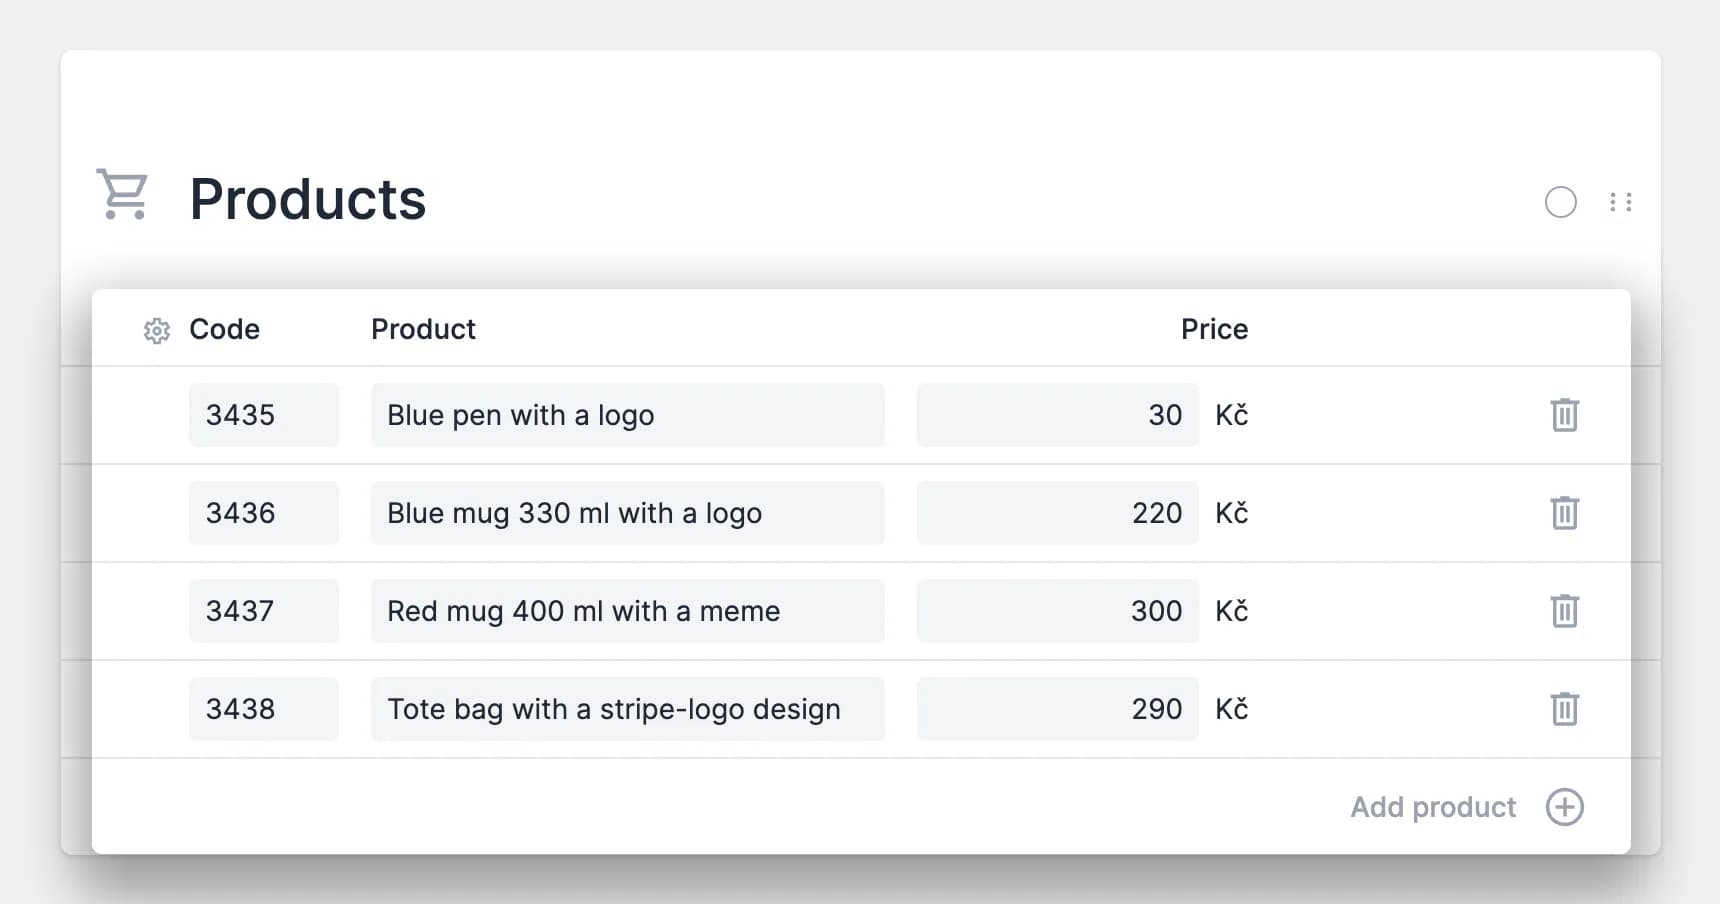
3. Then fill in any number of products and their details, i.e. the code (which you will need for stocking), name and price.
4. You can then add any additional elements to the smartpage, including multiple Page elements to split multiple product categories or any structuring. Customise the content of the page according to your needs.
5. Finally, publish the page.
💡 In case you want to see the stock of your products, there is a toggle to display the stock status under the settings icon. The moment you have stocked these products, the exact number of available units will be displayed.

2) Stocking created products
The moment you have created the products, you can stock them.
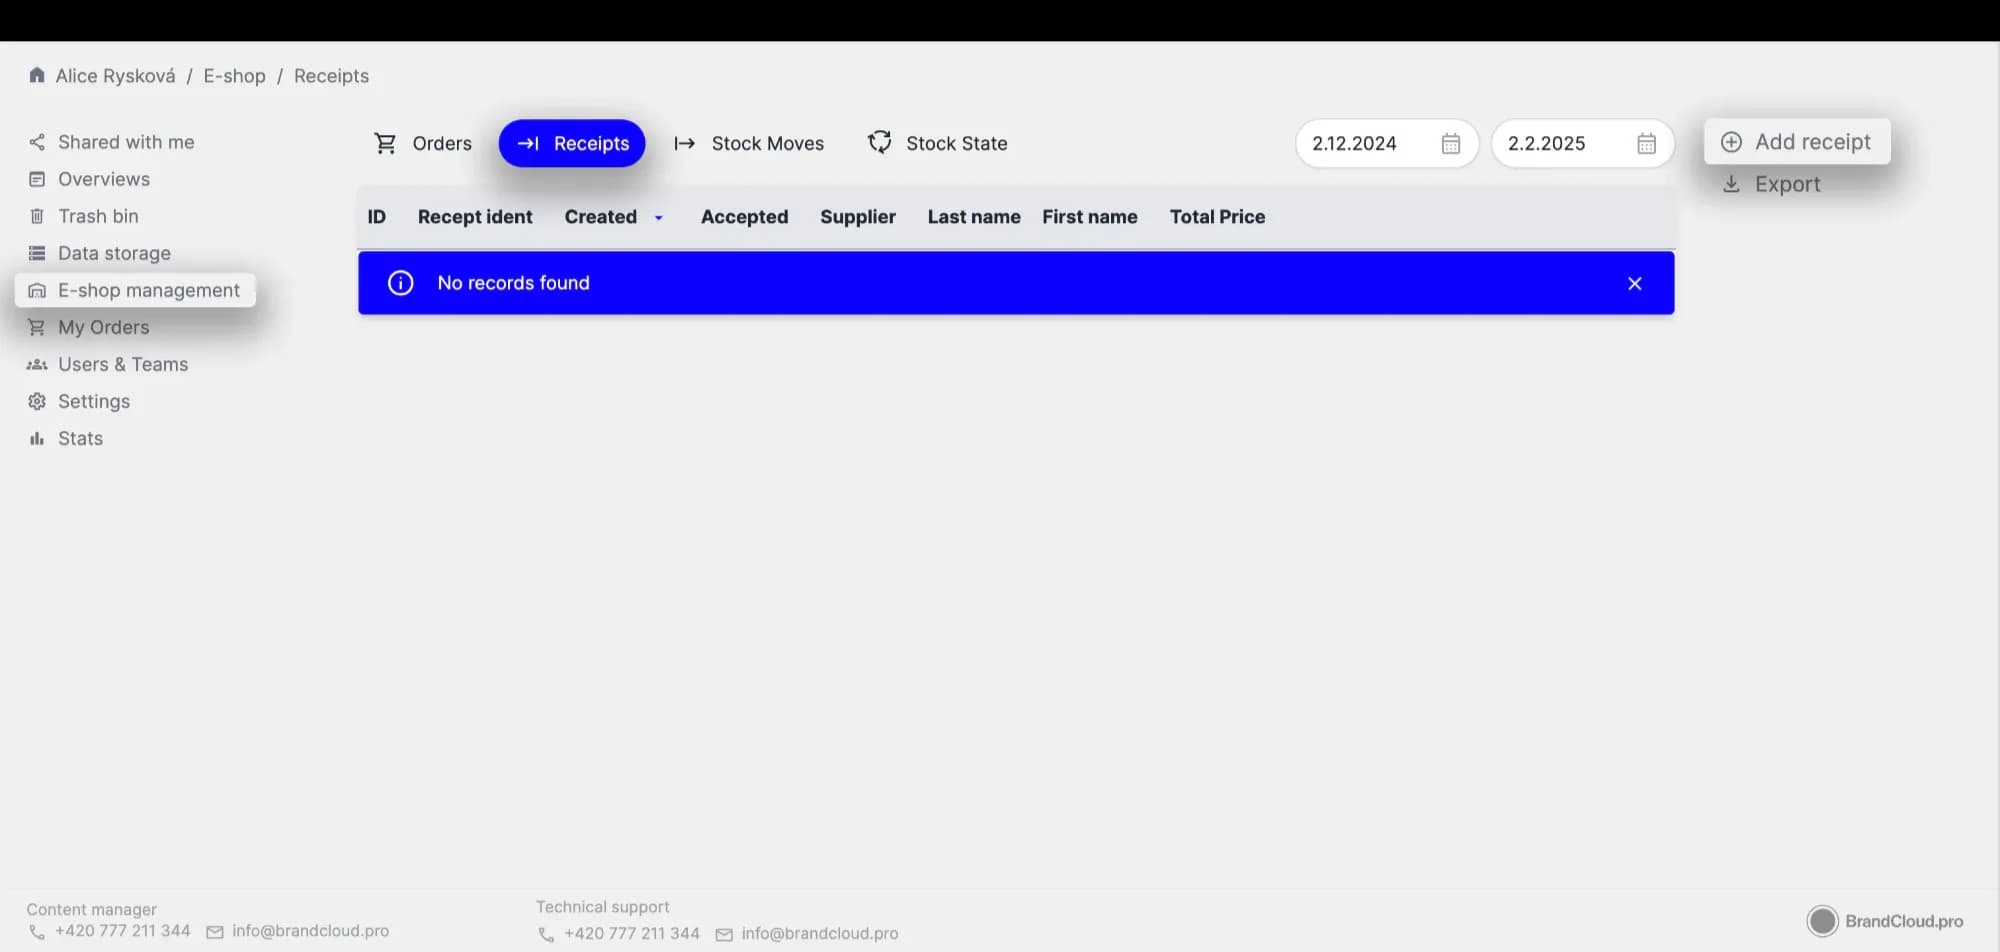
1. In the left panel, go to E-shop management.
2. Switch to the Receipts tab.
3. In the left column of the page, click the Add receipt button.
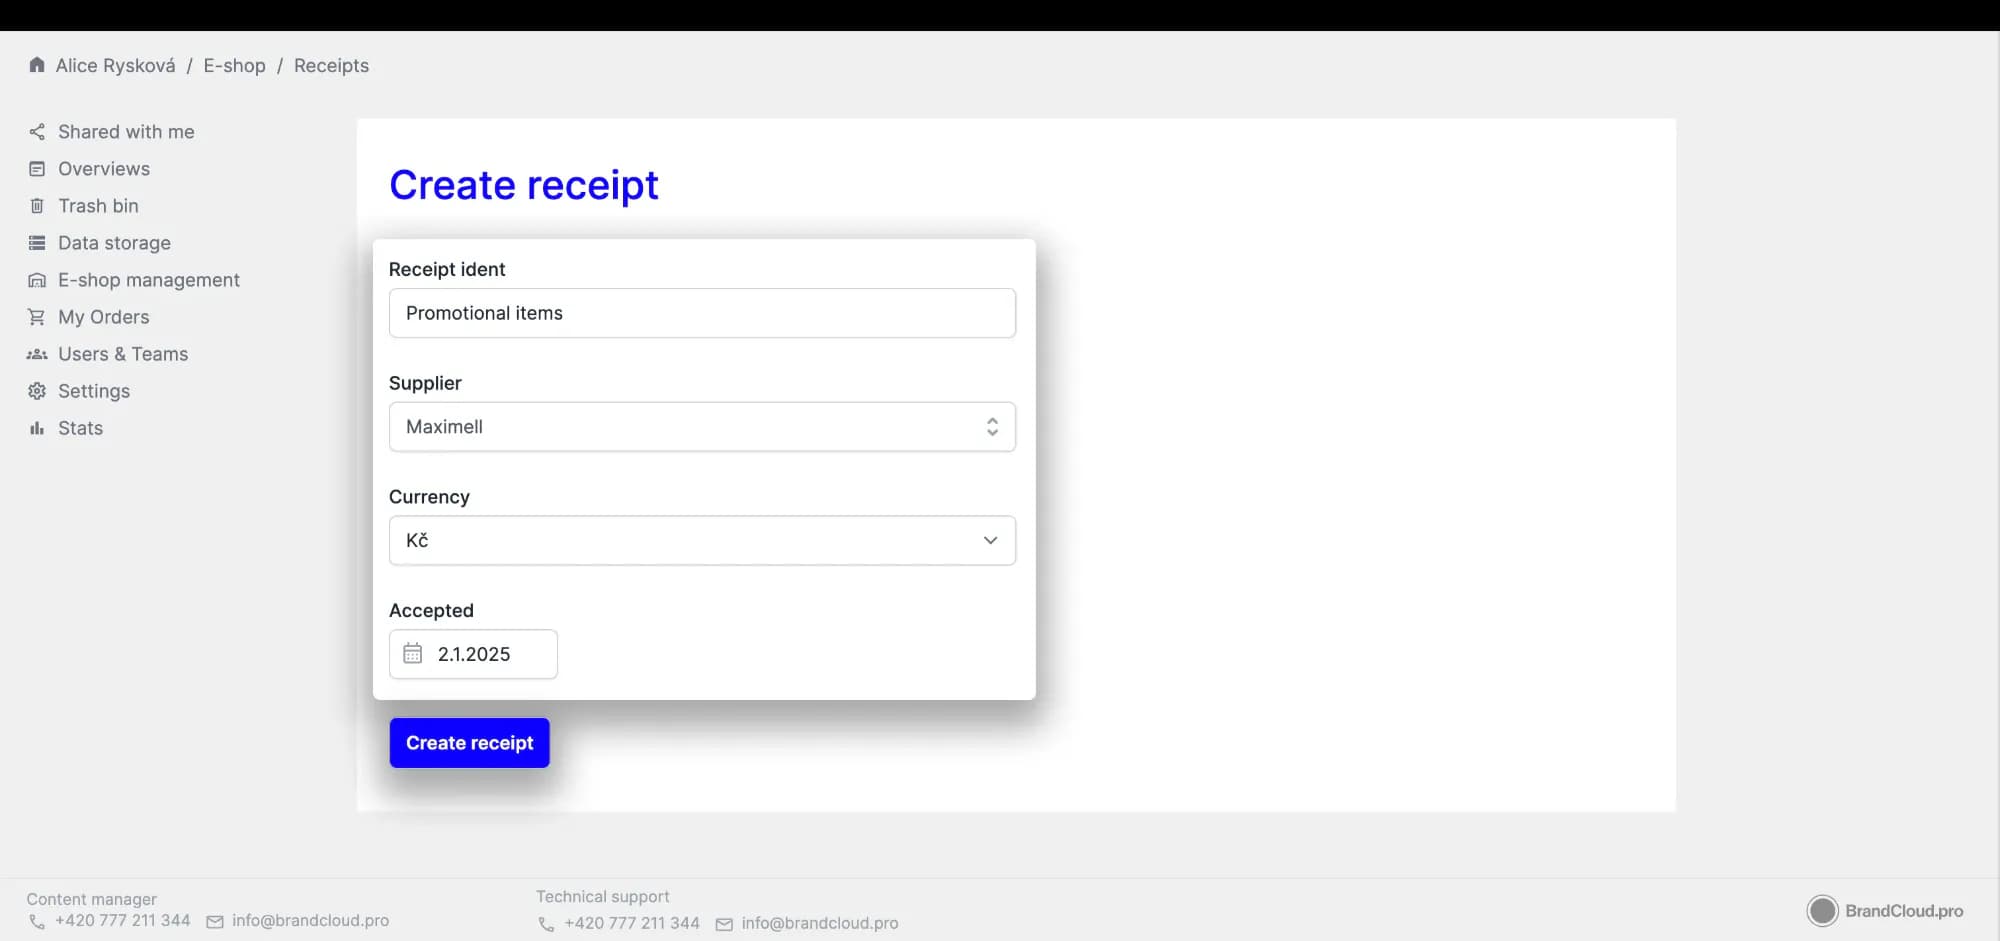
4. You will first be asked to enter basic details, i.e. Receipt ident, Supplier, Currency and Receipt Date. Once you have completed these, click the Create receipt button.
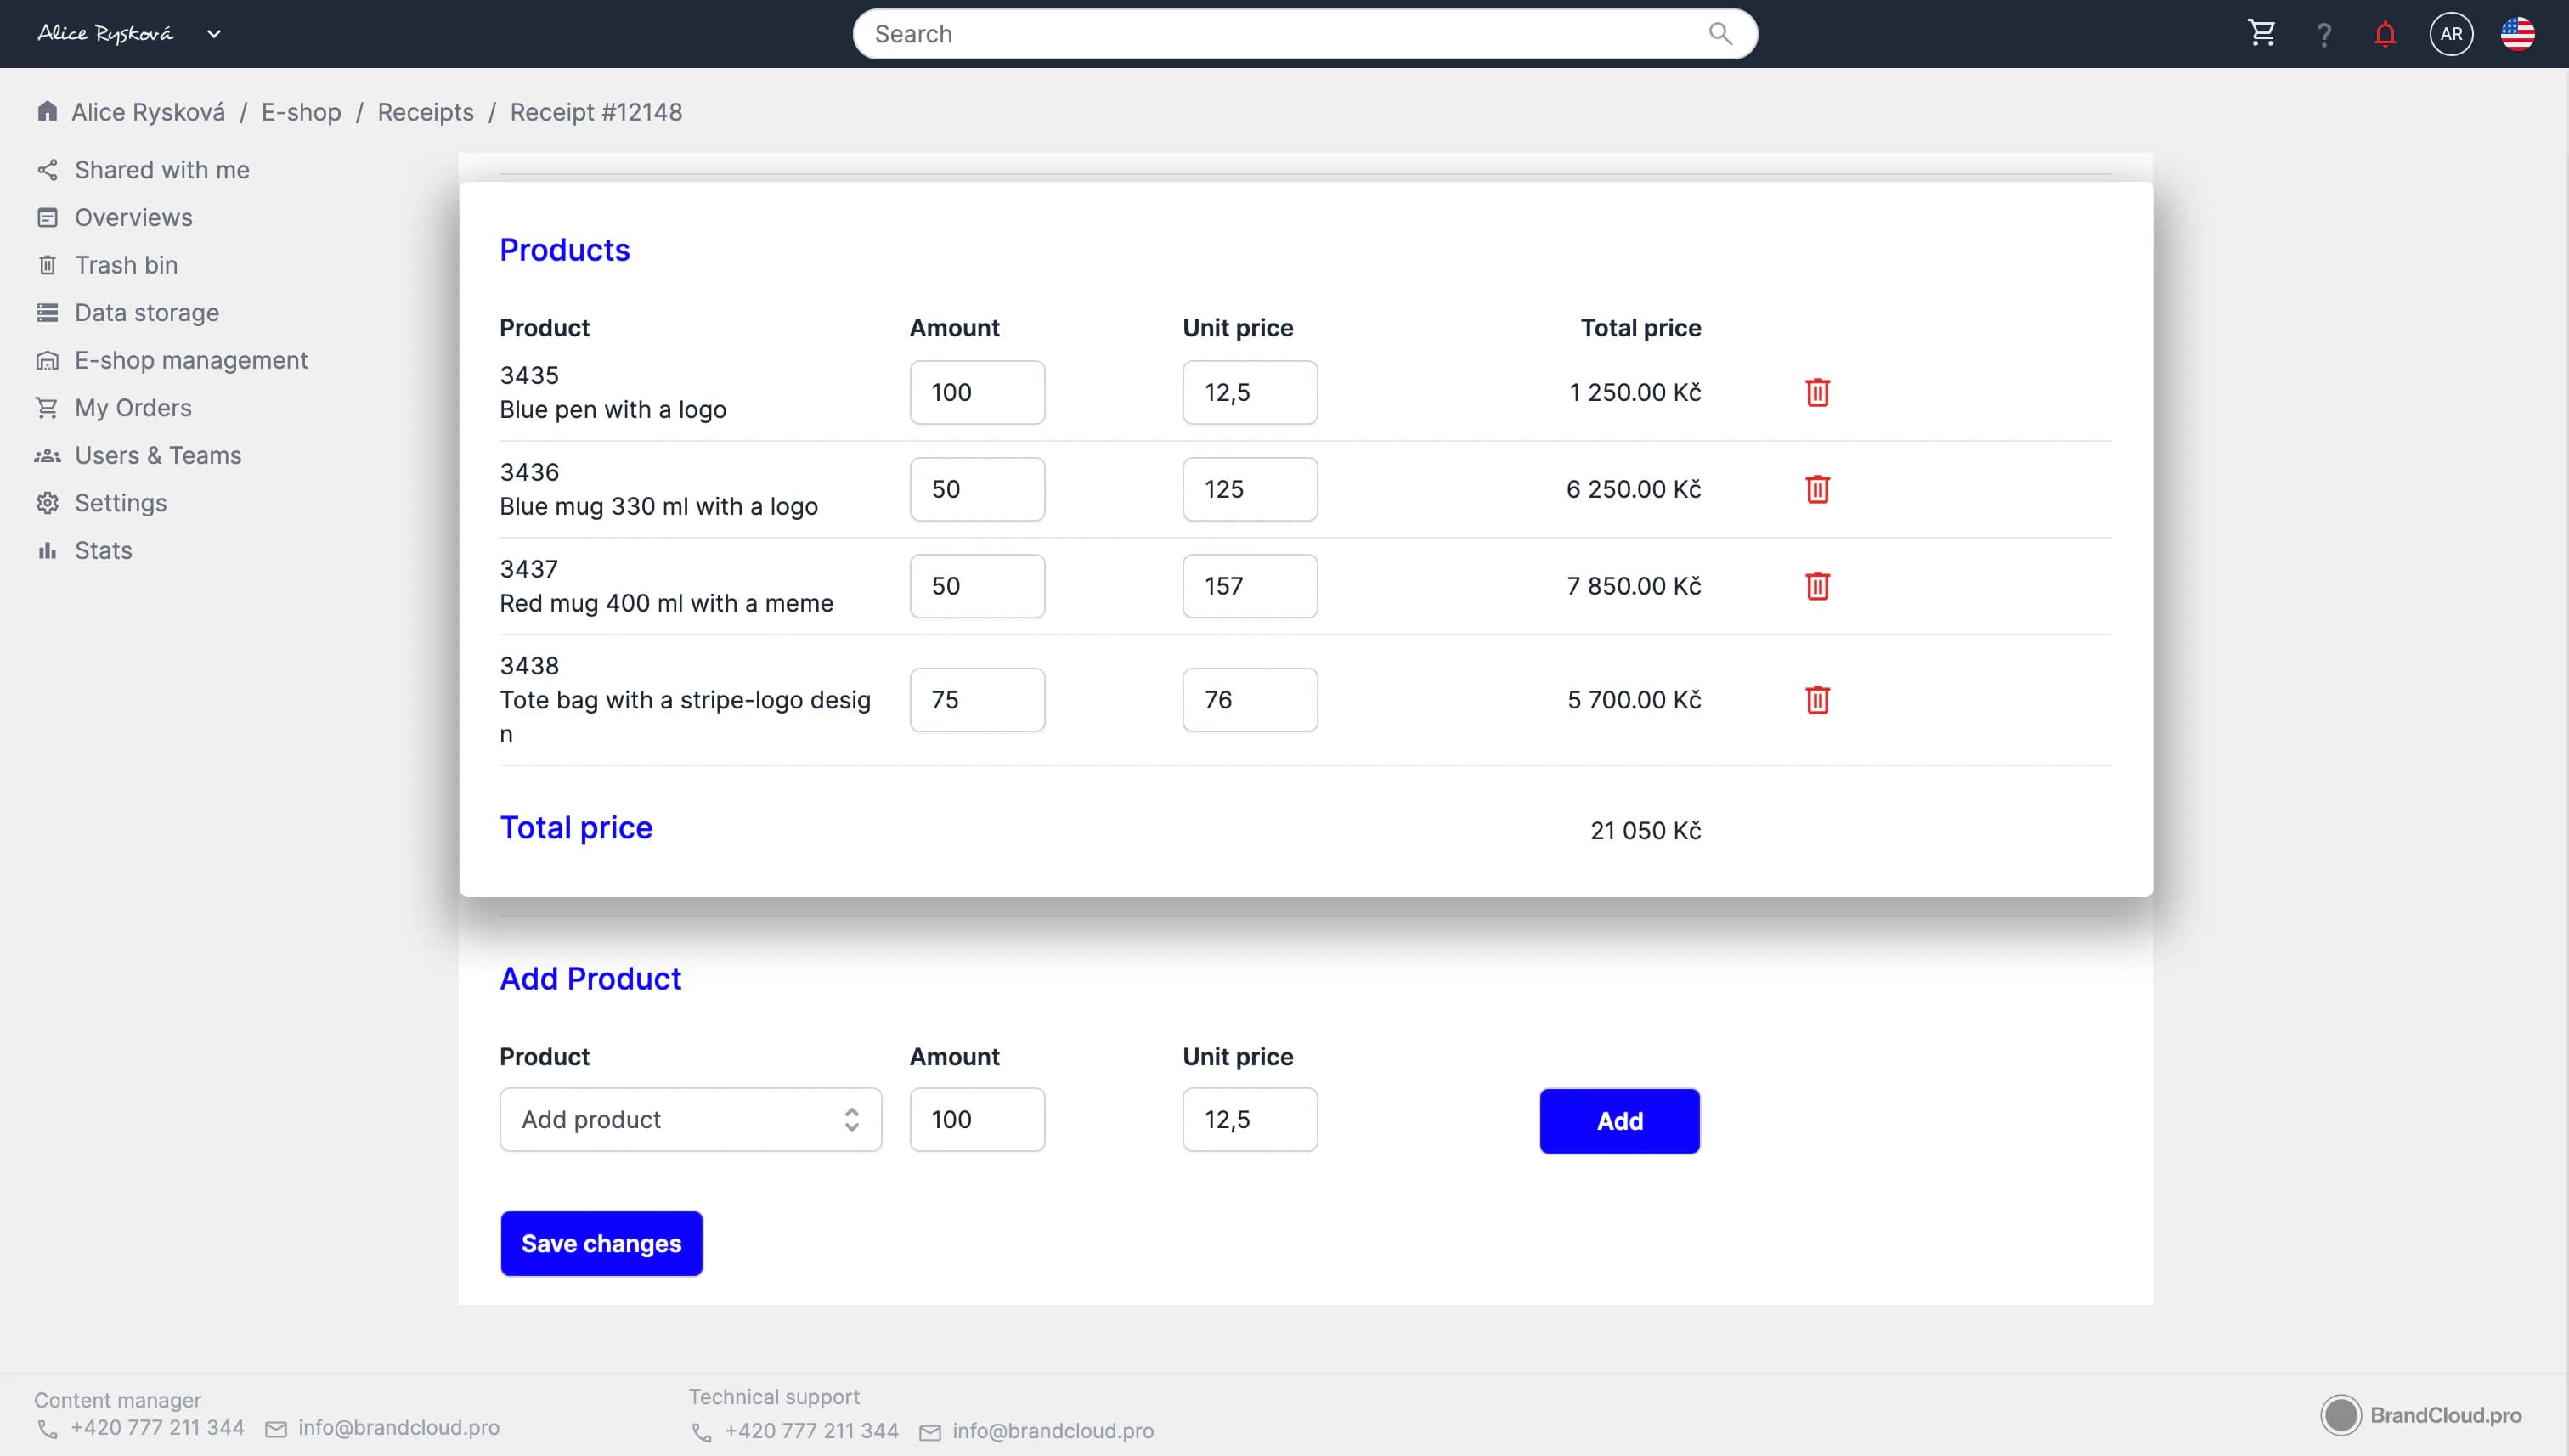
5. Then a receipt will be created to which you add all products to be stocked. You enter: the product (by its code or name), quantity and price per unit.
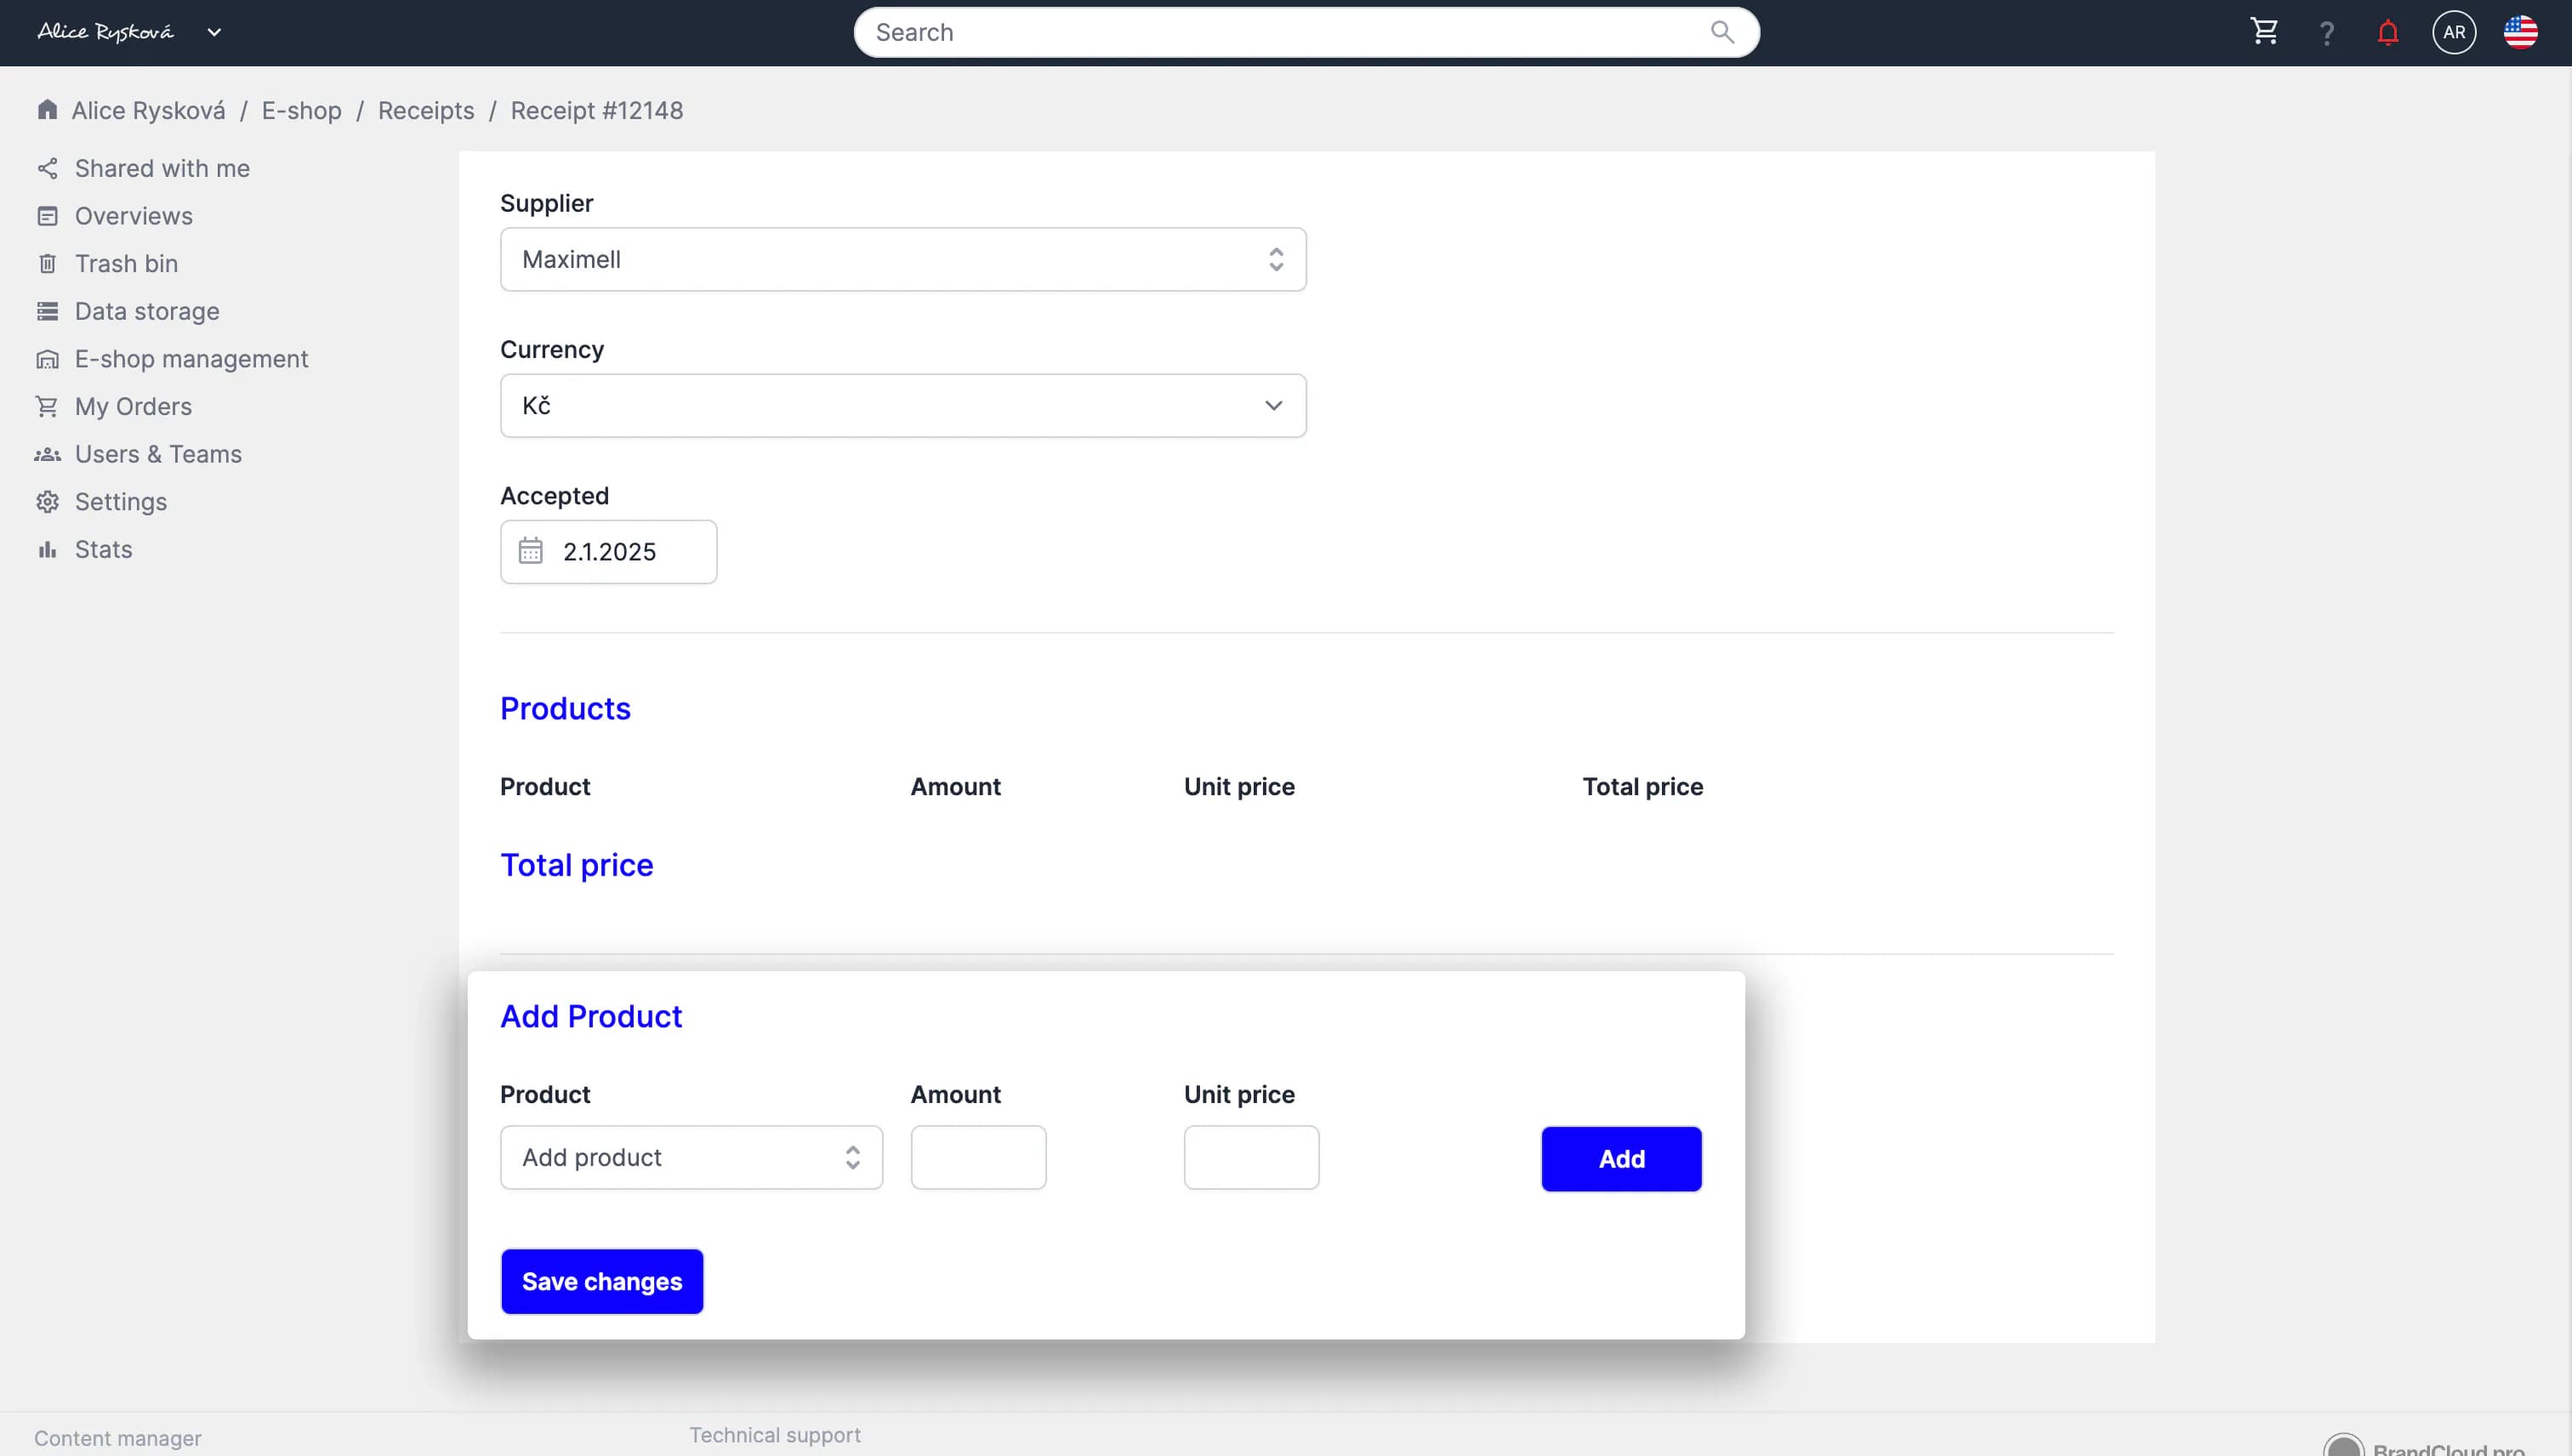
6. When you have added all the stocked products to the Receipt, complete the stocking with the Save Changes button.
7. Now customers can order your products!
‼️ Remember that the e-shop is an additional product to the platform. If you are interested in using the e-shop, please contact us. Until then, you will not see any elements or elements related to the e-shop in the repository.